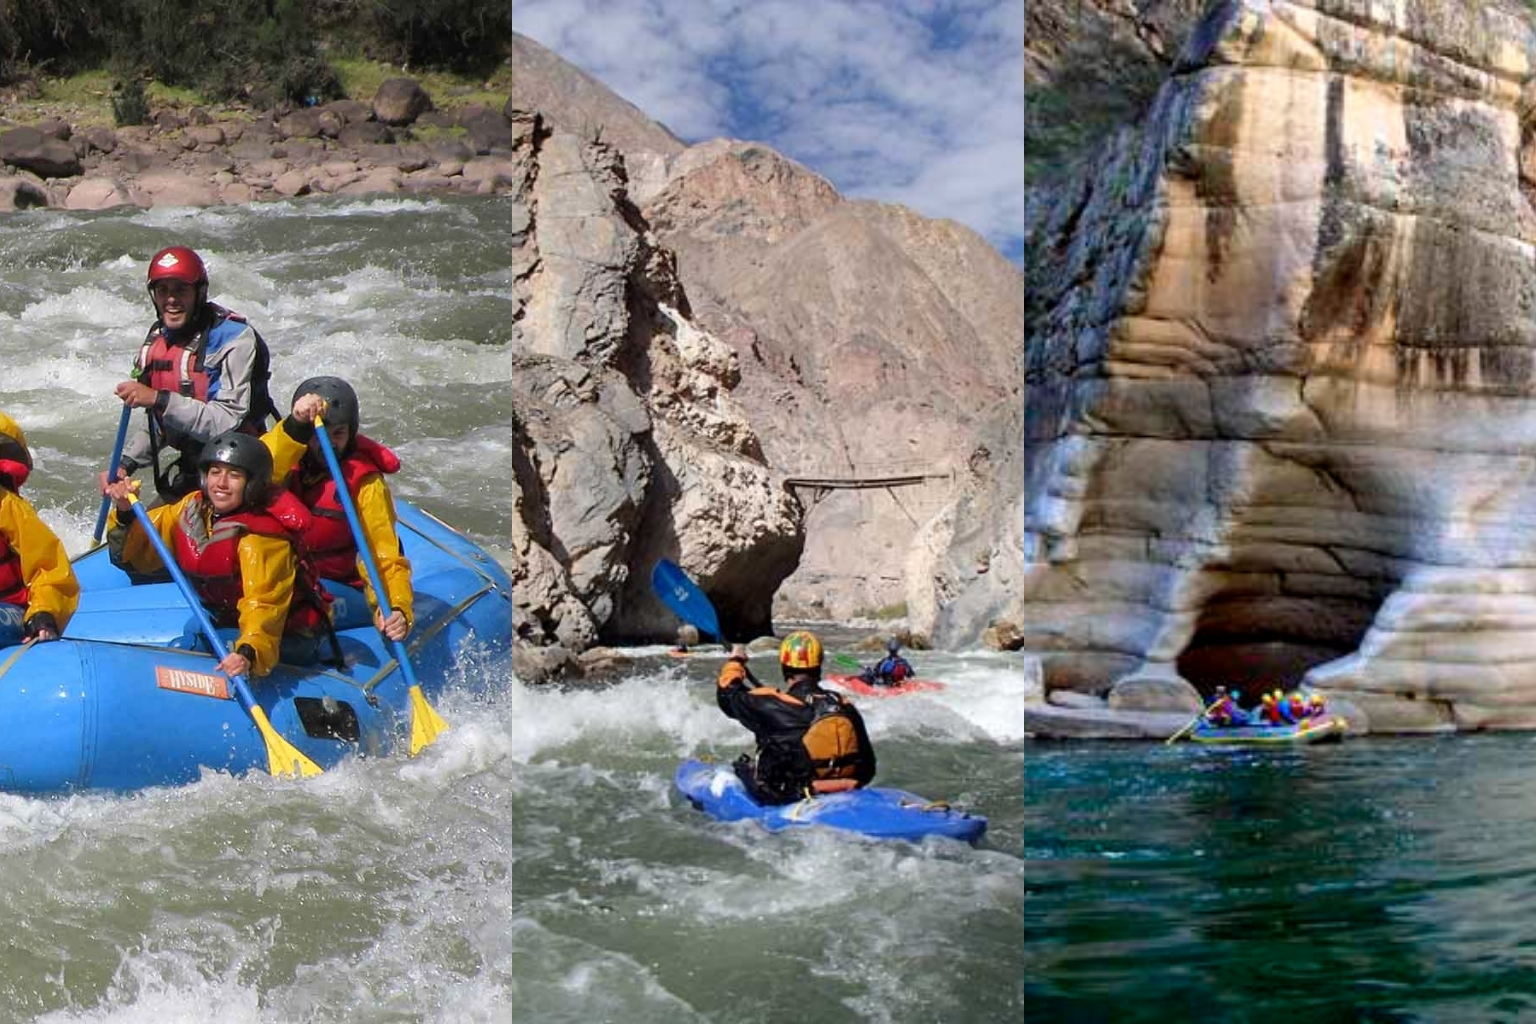
The survival instinct of the human being prevails over other essential instincts, this reflex act tends to emerge in complex situations where we leave our comfort zone and find ourselves in an unfamiliar environment. This time we will show you how the survival instinct and the adventurous spirit get you out of trouble.
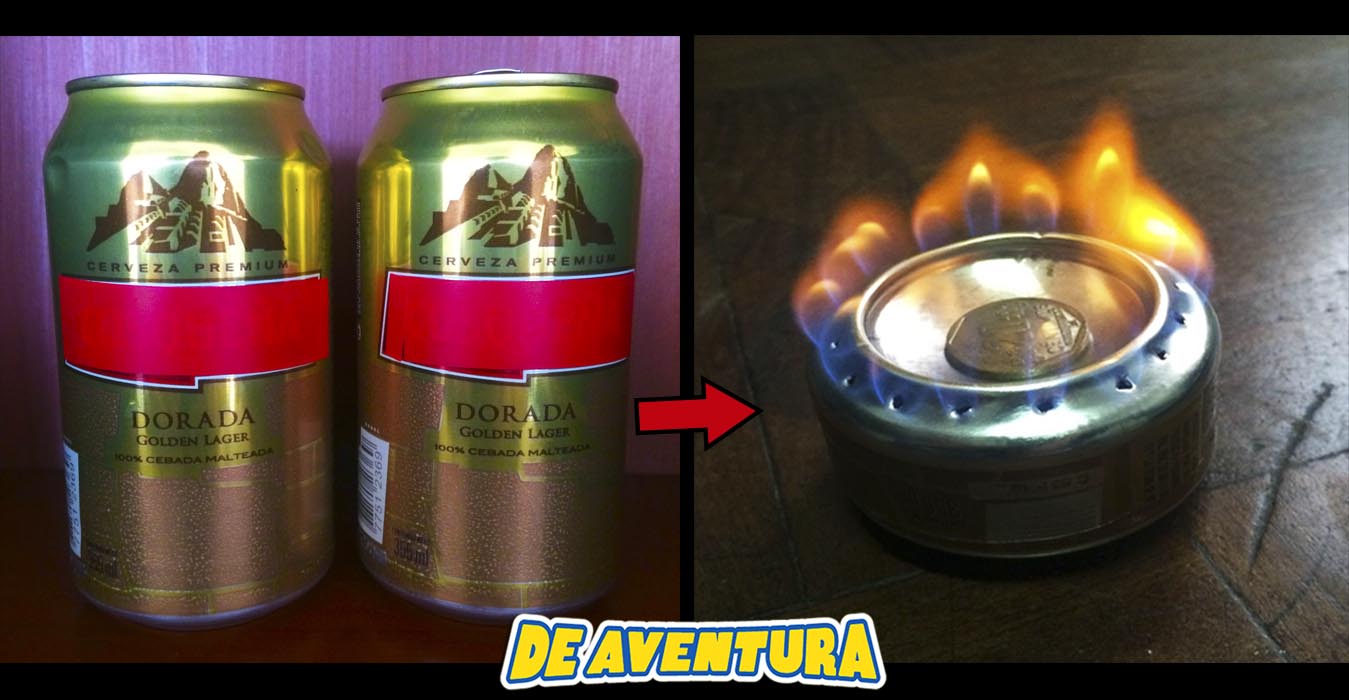
Let's imagine that we go on one of our Adventures outside the city, for a couple of days or more, and the place we are going to, as usual, is far from everything. Night approaches and it's time to warm up and cook something. What do we do? For this occasion, we will create a kitchen that keeps the fire alive, with just a couple of aluminum cans and other implements, without the need to be an expert in survival.

 How it's done?
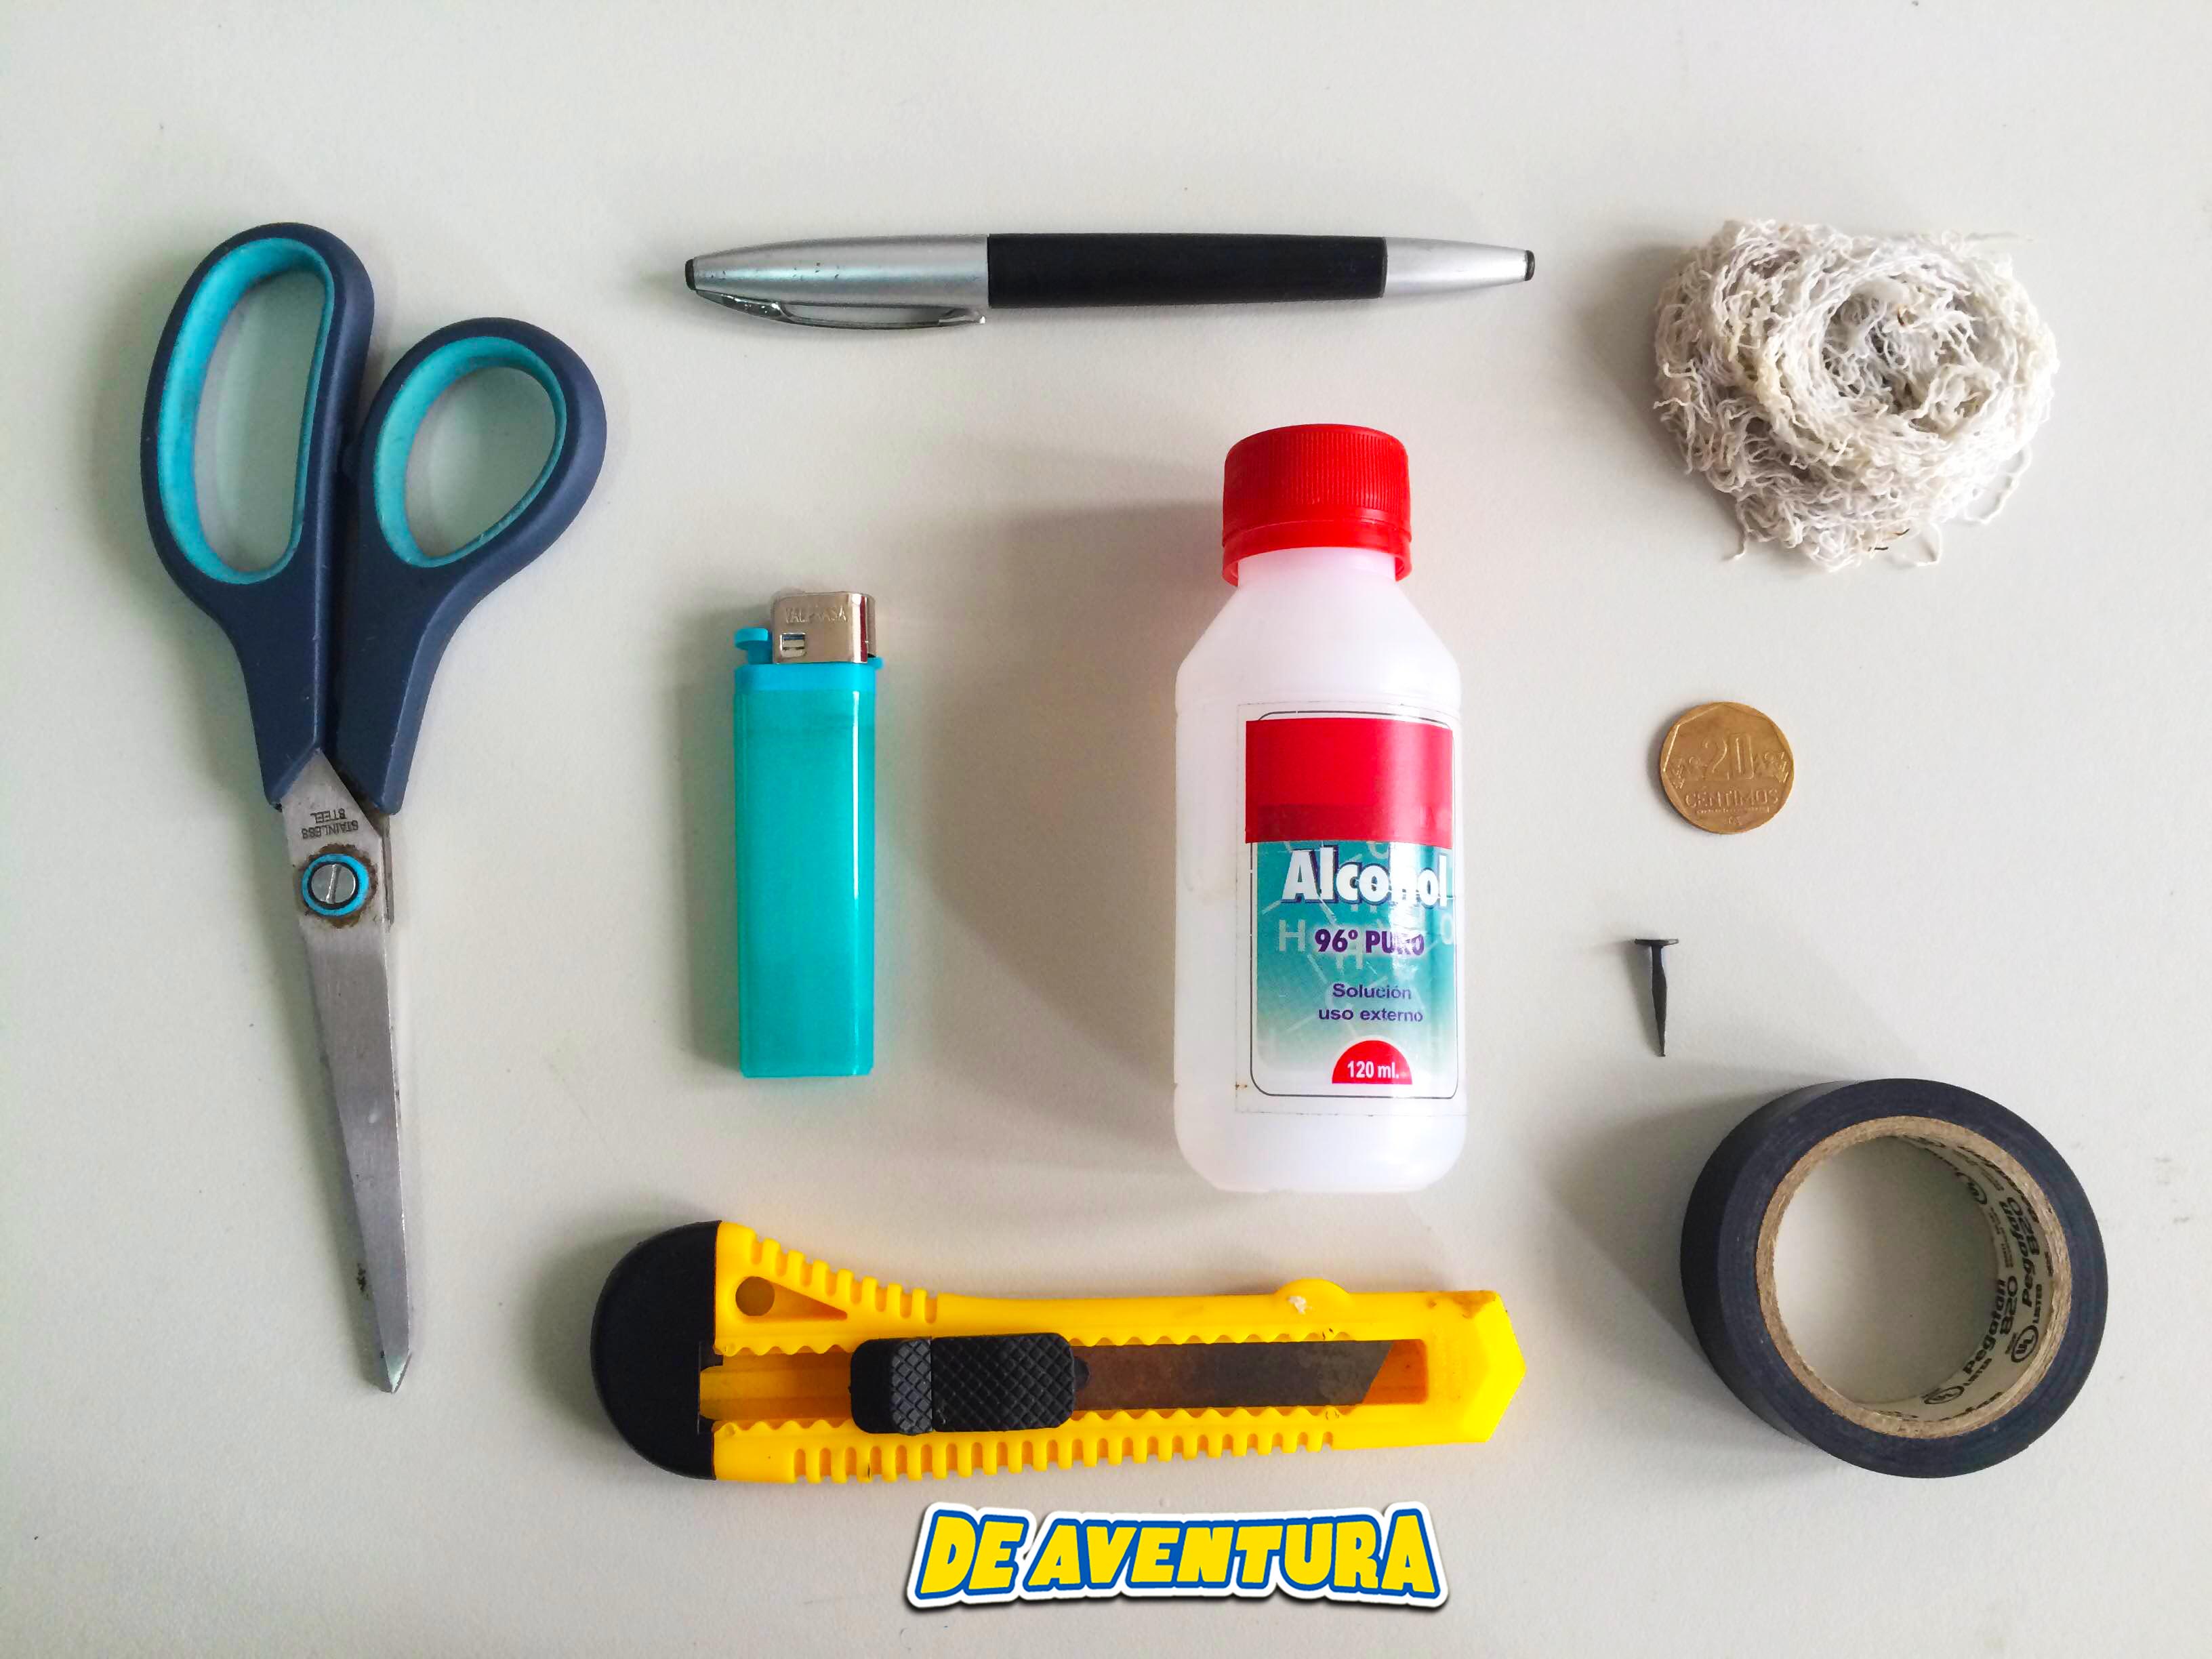
Steps to follow for our survival:
Step 1: Take a can, measure two or three centimeters from the base and draw a line around the can. Then, turn it over, cut it with a blade, and use scissors to follow the line; When finished, sand the edges so you don't cut yourself when using it. Repeat this step with the other can. (Don't throw away the rest of the can)
Step 2: Inside ONE of the bases we cut, insert the leftover part of the can vertically, exerting gentle pressure to widen base 1. We will make a couple of cuts on base 2 so that it can adapt to base 1.
Step 3: Now, take base 2 and with a nail make small holes around the edge and in the center of the upper base. Alcohol will be introduced through these holes for the cotton to absorb.
Step 4: Now that we have both bases ready, place some cotton or fiberglass inside base 1 as if it were an insulator and close it with the other base without leaving openings.
Base for the kitchen: With what's left of the can, we will make a base to light the kitchen. We will cut a strip 13 to 14 cm long and make small cuts at each corner, roll it up and secure it with the slots we made. We use the other end of the can as a base to pour the alcohol.

Step 5: With a lighter, ignite the base and heat the bottom of the kitchen, so the alcohol can evaporate. Then light the burner in the center of the surface.
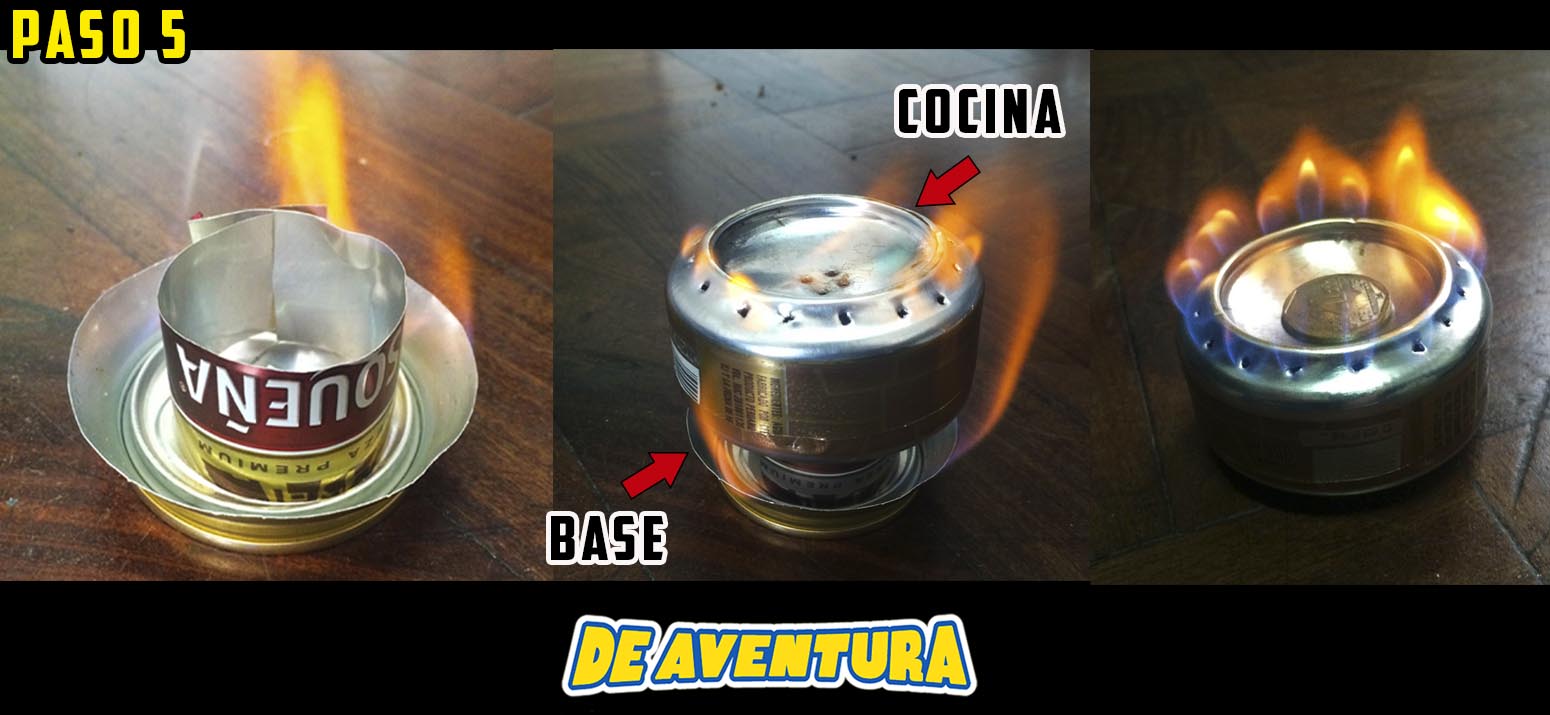
*Once the flames appear, you can place a coin in the center of the top part, like a burner, so the fire remains even. Now we have a kitchen that will help us throughout our adventure trip.
If you need more tips for travelers, JOIN us and visit our Blog.
Blog Author
DeAventura Team